Showing posts with label crib organizer. Show all posts

26 June 2013

WIP Wednesday

I normally don't participate in WIP Wednesday, because I am afraid that I will post something and then it will never turn into a Finished Friday, lol.
But I really need some Ice - Cream help.  What flavor looks best on top,


Chocolate

or Pistachio

What do you think?
We have Vanilla, Strawberry and then.....

On other news I am trying to finish my 2nd Diaper Clutch bag so I can write up the tutorial and finish my Crib Organizer with Removable Fabric Baskets and Diaper Clutch, that I had originally made for the Make It Right Challenge.
Linking up to WIP Wednesday at Freshly Pieced

17 June 2013

Fabric Baskets

Second Part of Crib Organizer with Removable Fabric Baskets and a Diaper Clutch Tutorial

These fabric baskets can be used separately or part of the crib organizer, you can hang them on a door knob or they can stand alone. 

Cutting Instructions:
 We will be using the top 3 cuts on the right side to make these baskets, first cut off your selvedge and set it aside to use later, make sure the fabric piece is 21" and cut 3 - 8"x21" pieces, take 2 of the pieces and cut them down to 8"x8" and 8"x13", the third piece you will cut 2 - 8"x4.5" and 6 - 8"x2"

Make the above cuts on your solid fabric of choice or some matching FQ's.

Let us also cut up the Pellon fusible it comes in 20 inches-
2 - 7.5"x 7.5"
2 - 7.5"x 12.5"
6 - 8"x 2"
2 - 8"x 4"

All of your cuts should look like this: 
Now fuse the Pellon to the Panel pieces of fabric, we cut them a little smaller so there will be an 1/4" missing around all the edges.
 
Let's take our 2 bottom pieces, the 8"x4.5 and round the corners.

 With all of the pellon fused on your pile should look like this:

I did my cutting and ironing in 1 nap-time.
 
 Okay let's start constructing our baskets, take the 1 Panel front piece and match it with 1 Panel back piece, and sew 1/4", yes 1/4 inch.
It will look like this.
 Do this 4 times, 2 Panel pieces (the outside of the baskets) and 2 inner solid pieces (the inside of your baskets).
Now add your bottom pieces, I sewed the back piece on first leaving a 1/2" on each end and sewing 1/2" in, then I sewed the front to the curved part of the bottom, right sides together and pinning well, I do not have photos of this part, if you need more help, just ask.  Once again do this 4 times, 2 Panel bottoms to the panel "tubes" and 2 solid color bottoms to the solid color "tubes".

The next step will be sewing the inside to the outside fabrics.  Keep your Panel pieces inside out and turn your solid pieces with the right side of the fabric on the outside.  Nestle your solid piece of fabric inside of the panel piece, so that the right sides of fabric are facing each other.
A picture to help.
 Sew around the top at 1/2" from one side to the other, leaving a good 5" gap on the back to add your strap and to flip the fabrics around.  Clip the corners and maybe trim some of the bottom so that it will lay flatter.  You will want to iron the crease at the top so it is easier to top-stitch down.  

I got this far during another nap time.

Lets talk the straps and buttonholes, this was my first attempt at making buttonholes.  It is so easy!  I have no idea what I was afraid of, but if you need help making buttonholes I can make a separate tutorial or there are a lot of videos up on Youtube, just write in what type of machine you have and ask for a buttonhole tutorial. 
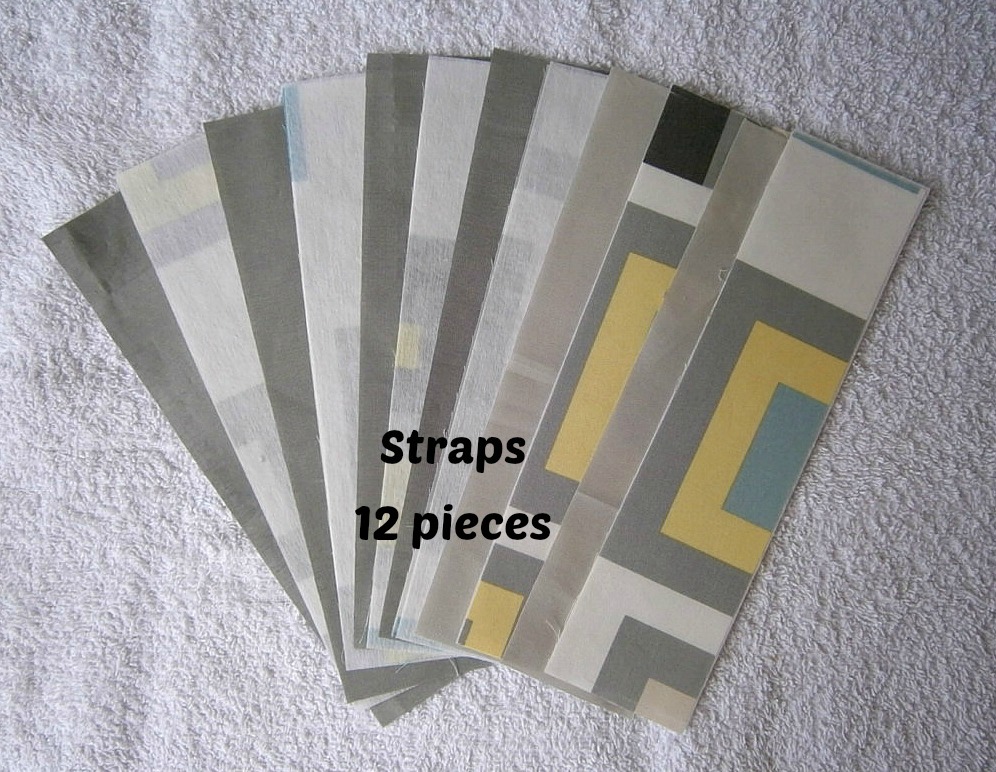
 Your straps look like this 8"x 2", 4 of them will be for the organizer panel, and 2 for the baskets.  Organize what is what, I had 2 different solids to go with them the darker solid is for the organizer the lighter on for the baskets.  You should already have the pellon ironed onto the panel pieces, take the right sides of the basket panel pieces and line them up with the right sides of the solids, sew on both long sides 1/8", flip right side out and iron, then topstich 1/4" on both sides.  
The 4 straps for the organizer will be sewn on 3 sides (now this is if your slat openings on your crib are 2" wide which is the case for my friend, you will need to adjust if it is a smaller opening, I hope not).  Again sew 1/8" with right sides facing each other, but sew down one side turn at the bottom, go across and go back up, to make a long U shape, trim the corners and then flip inside out, iron, and topstich around all 3 sides 1/4"
Let's add the button holes now!  Measure your buttons, or if you have a nifty button hole sewing foot then use that.
The 2 straps that are going on the basket sew the button holes in the middle of the strap.  For the 4 straps for the crib organizer panel, sew the buttonhole close to the end of the U part that you sewed.
2 on the bottom are for the organizer and the one on top for one of the baskets.
 I learned this little trick, use your seam ripper to make the button holes being careful not to cut your seam.
Now lets add out straps for the baskets, place them in the middle of the hole you left and topstitch down at 1/8" all around the basket.
 I start at one seam and go all around, then when I make it back to this seam, I turn my basket a little and take 2 stitches down the seam, turn it back, and then sew 1/4" top stitch down just the back portion of the basket.  This way the handles are stitched down twice making them stronger, I again stop at the other end of the seam and leave enough thread for me to thread a needle and do a couple of back stitches by hand.
And your baskets are done!


15 June 2013

Crib Organizer Frame

First Part of Crib Organizer with Removable Fabric Baskets and a Diaper Clutch Tutorial

This is super easy to make, and really easy with the panel, but you can use any fabric you want to.

Have you ever done a French Seam, this is what we will be doing with the First Part of the Panel, here are 2 good French Seam tutorials, here and here.

Cut the Panel.
You will be using the left piece for this part of the crib organizer.
 I did not cut the left side selvedge off, do you see the 4 green lines on the left side of the panel.  I folded the panel in half lengthwise (along the 44-45", just halfway) I matched those up and then cut down the middle of the panel, for the first cut, it was about 22  1/2 ".  You now should have a piece of fabric that is 22 1/2 " by 36"

Take that piece and fold it in half (the 1 yard repeat) with the right side of the fabric facing you, match up the boxes on each side, you may need to trim the top to squares things up.  It should now be about 22 1/2" by 18".

Now it is time to do the French Seam, sew up each side with wrong sides of fabric facing each other and the right side facing you and the bottom of the sewing machine, if you leave the selvage on then stitch at 3/8".
For the first row of stitching the right sides of fabric face out.


The most important thing to remember about French Seams is the Pressing, aka, Ironing, YOU MUST IRON THE SEAM TOGETHER DO NOT OPEN THE SEAM!  Press to one side, it does not matter which side.  Ironing is very important and makes a very nice French Seam.

Now cut a little bit at the corner so it turns better and turn your panel wrong sides out and right sides together.  Once again Iron and press so that it lays nice and flat.  Sew a 5/8" Seam.

Turn back out and Press, now to finish your top.
 Once again the Iron comes out, or maybe it never got put away.  I fold my edge in 1/4 of an inch and then again at 1/2".   Then top stitch the seam down.
 
And tada the first part is done, we will had the straps and buttons in a little bit.

This is all Part of The Crib Organizer that I made for a friend of mine who will be having a baby in September, I have entered it into the Make It Right Challenge with Art Gallery Fabrics.

If you would like to pin an image please Pin this one from the contest.